
I used Furls Whims Merino Wool to create a lightweight, but cozy and warm beanie. The pattern is crocheted flat and then seamed up and the chevron motif is incredibly easy – though it looks complex. I loved designing this pattern and am so thankful for the testers I had who perfected it.


- Purchase the ad-free, large print PDF.
- PIN this pattern to your Pinterest boards.
- SAVE on your Ravelry queue. Paid version includes color graph.
This post may contain affiliate links; view the Hook Yarn Carabiner disclosure policy for details. Affiliate links provide me with a small commission for every purchase you make at no cost to you. These donations allow me to continue to produce free patterns and content on my blog. I am so appreciative of any support you give to me and my small business. Purchasing yarn or products through the links on this page is one way to do that.
DESCRIPTION
A slouchy, cozy, lightweight beanie with a lovely chevron pattern and double brim. This quick and easy design will keep you warm and stylish! The lightweight merino wool yarn makes for a soft and comfy beanie and the stripes bring out the beautiful chevron design.
This beanie is made by creating a rectangle and then seaming the brim on and sewing the top closed. Finally, an optional pompom can be added on the top! This beanie is meant to fit loose and ‘slouchy;’ if you do not want a loose fit, there are directions for how to make a standard beanie, as well.
MATERIALS
- Whims Merino Crochet Yarn (Weight: 3/light – 3.5 oz/196 yd): one skein each in light grey, purple and blue, pattern uses roughly one entire skein of light grey and half of each purple and blue skein. Total yards needed: size small: ~250 yards, size medium: ~300 yards, size large: ~350 yards.
- Size G (4.0 mm) crochet hook – I have recently begun using Furls Crochet hooks and have seen immediate relief from the hand pain that used to bother me. I am an affiliate of Furls Crochet and am so proud to represent their quality products.
ABBREVIATIONS
- ch: chain
- st: stitch
- sl st: slip stitch
- dc: double crochet
- dc3tog: *yarn over, insert your hook into the next st, yo, pull up a loop, yo pull through two loops. Repeat from * two more times. Yo pull through all four loops.

SIZING
The pattern is available in adult sizes small (~21 inches in circumference), medium (~22 inches in circumference), and large (~23 inches in circumference).
GAUGE
4” by 4” square = 18 st by 9 rows of dc with size G (4.0 mm) crochet hook
DIRECTIONS
You will first create the body of the beanie by crocheting a rectangle; the chevrons will run vertically once finished. You will fold the rectangle in half and single crochet the rectangle into a tube, before closing the top and sewing the brim up.

Stitch ( ) and row counts [ ] for each size are given in order from smallest to largest (s, m, l,). Beginning chains do not count as stitches.
Begin with grey yarn. Alternate grey and blue yarn for six rows, then alternate grey and purple yarn for six rows. Repeat striping pattern through the end of the pattern.
(Wondering what the checkboxes are for? Check out this tutorial and make online patterns easier to follow!)
ch (50, 60, 70) Approximately ~13 inches, ~14 inches, and ~15 inches long respectively, this is how tall your beanie will be. For a non-slouchy beanie subtract ten chains from each size, you may have to adjust your brim size during assembly to accommodate this change.

ASSEMBLY
CLOSING THE TOP
Leave the tube with the wrong side out and use the long tail to sew the beanie shut. Insert your hook through to the other side of the beanie at the center seam and sl st these two sides together. This will create two folds on either side of the center. Pull the center of each fold to your hook and sl st them together as well. You should have four folds at this point. Repeat this process until you have 8 folds. Working from fold to fold, sl st them all closed as you work around the circle. Fasten off and weave in all ends.

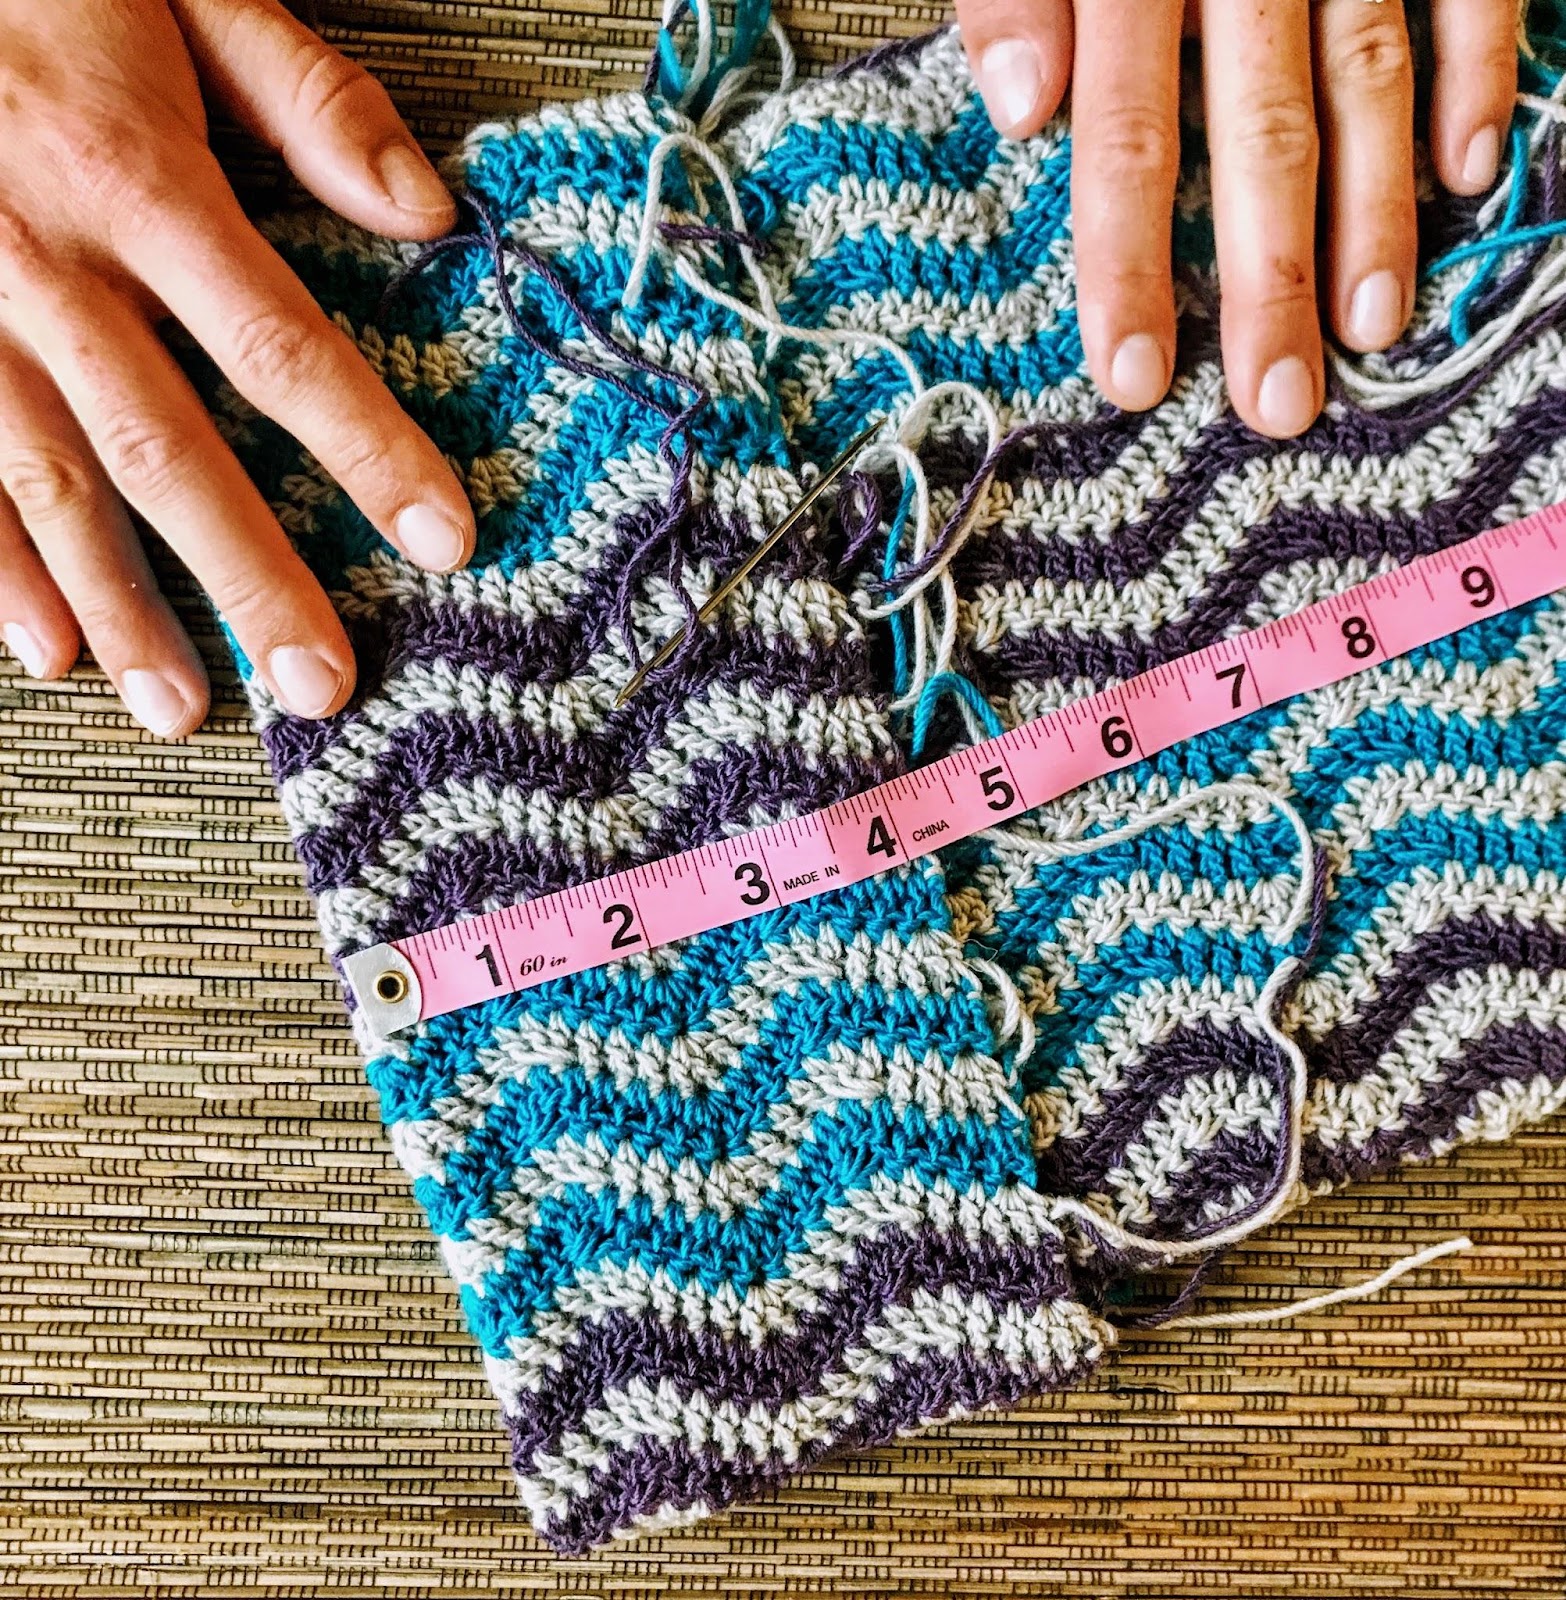
CREATING THE BRIM
Leave the beanie inside out. Flip the bottom of the tube up ~4 inches to create a double brim (adjust this length to create a more or less slouchy beanie). If you have not been weaving in your ends from color changes as you go, this is a great time to tuck all of your ends into your brim.
Using your long yarn tail, sew the double brim into place by whip stitching the edge of the brim to the body of the hat. Pick up stitches close to the surface of the wrong side of the body (rather than going through all the way to the other side) when seaming the double brim in place to prevent the seam from being visible on the right side. Also, keep the chevron stripes lined up as you sew so your brim is straight and even. Fasten off and weave in ends.

Your beanie is finished, you can choose to add a pom or leave it as is!

Never want to miss another pattern?
Follow me on Pinterest for easy to follow, fun crochet patterns for the outdoors!

Follow me on Pinterest @hookyarncarabinerpins
One thought on “DOUBLE BRIM CHEVRON BEANIE PATTERN”